How To Polish Marble
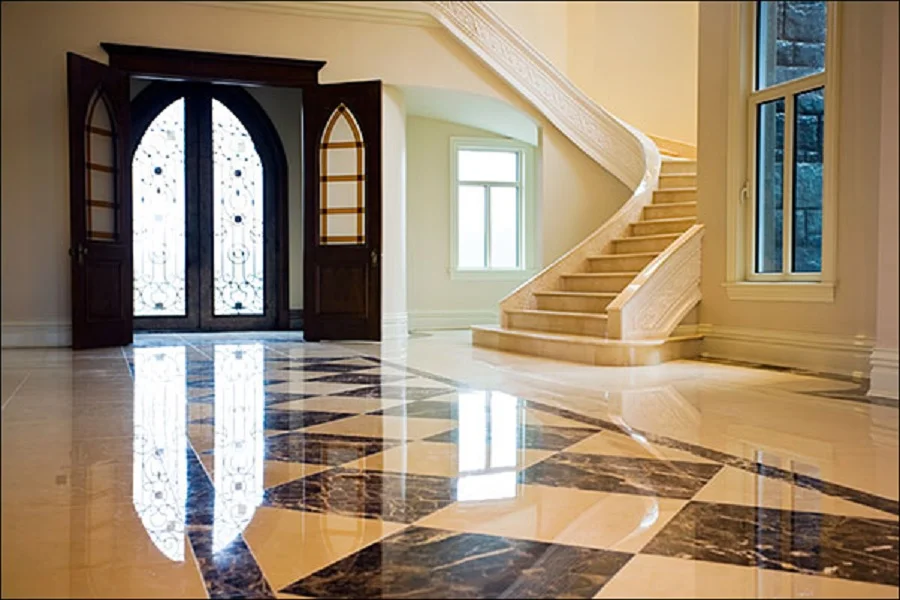
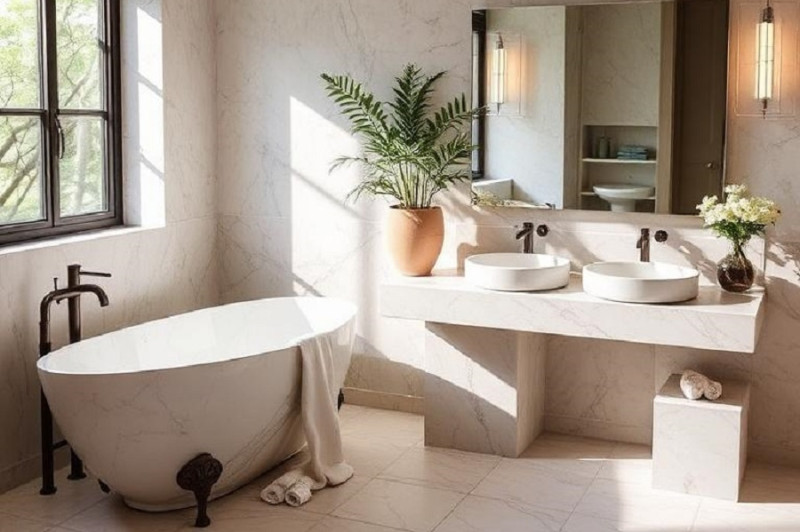
Marble is synonymous with luxury and timeless beauty, largely due to its capacity for a deep, reflective polish that brightens any space. However, this stunning shine isn't indestructible. Daily life, accidental spills, and even well-intentioned but incorrect cleaning can diminish its luster over time, leaving your once-gleaming surfaces looking dull. The good news is that for many common issues, learning how to polish marble using DIY methods can effectively restore its brilliant finish. This guide will provide you with the knowledge and steps to bring back that coveted marble gleam.
Preparing Your Marble for Polishing: Essential First Steps
Before you even think about applying a polish, meticulous preparation is key to achieving the best results. Attempting to polish a dirty or stained surface will be ineffective and could even grind abrasive particles into the stone, causing further damage. A clean, dry, and well-inspected surface is the foundation for successfully learning how to polish marble.
Step 1: Thorough Cleaning and Stain Assessment
Begin by clearing everything off the marble surface. Then, thoroughly dust it with a dry, clean microfiber cloth to remove any loose grit or debris. Next, clean the marble using a pH-neutral cleaner specifically designed for natural stone, or a very mild solution of dish soap and warm water. Rinse the surface completely with clean water to remove any soap residue, and then dry it thoroughly with a soft, absorbent cloth. During this process, inspect for any existing stains. It’s generally better to address specific stains before proceeding with overall polishing, as polishing might not remove them and could even make them harder to treat later.
Step 2: Identifying the Level of Dullness or Damage
Once clean and dry, carefully assess the condition of your marble. Are you dealing with overall light dullness, or are there specific dull spots that might indicate etching? Are there visible fine scratches, or are the imperfections deeper? Understanding the extent of the issue will help you choose the appropriate polishing method. DIY how to polish marble techniques are generally suitable for light to moderate dullness, minor water spots, and very superficial etch marks. Deeper scratches, widespread severe etching, or significant wear will likely require professional stone restoration services.
DIY Marble Polishing Methods: Techniques and Products
Several methods can be employed to polish marble at home, ranging from simple buffing to using specialized products. The best choice depends on the current condition of your marble and the level of shine you wish to restore. Always start with the gentlest method.
Method 1: The Classic Chamois Buff for Routine Shine Boost
If your marble is already in good condition and just needs a slight enhancement to its shine, or if you've just cleaned it and want to maximize its gleam, a simple chamois buff can work wonders. This method is non-abrasive and relies on creating a perfectly clean, dry, and streak-free surface. After cleaning and thoroughly drying your marble, take a high-quality natural chamois cloth. You can use it dry or very slightly dampened with clean water (ensure it's well-wrung out). Buff the marble in broad, circular motions. This gentle technique helps remove any final traces of residue and enhances the stone's natural reflectivity without chemicals.
Method 2: Using a Marble Polishing Powder for Mild Etching and Dullness
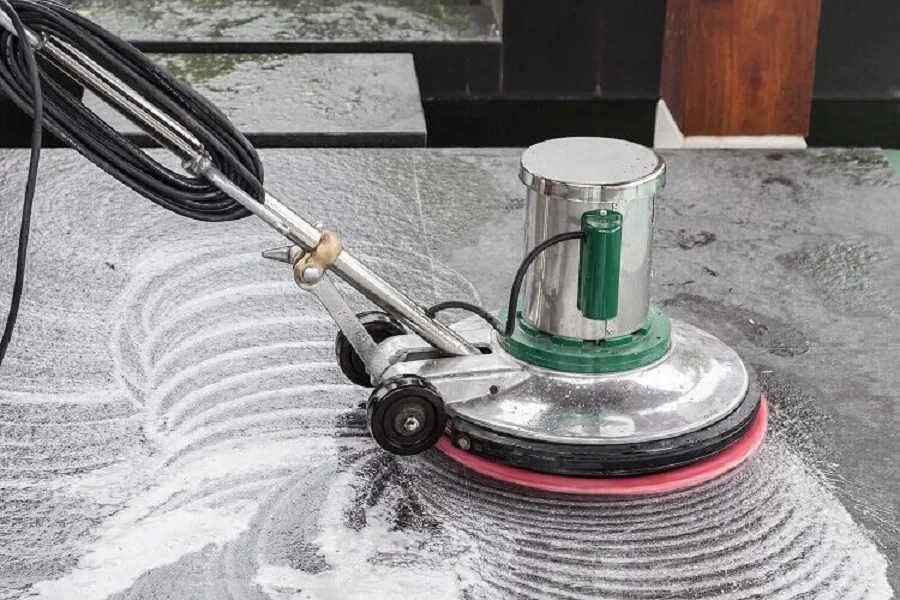
For marble that has suffered from light etching (e.g., from water spots or mild acidic spills) or has developed a general dullness, a marble polishing powder is often the most effective DIY solution. These powders are specifically formulated for stone and typically contain very fine abrasives like tin oxide or aluminum oxide that gently hone the marble surface to restore its smoothness and shine. To use it, first ensure the marble is clean. Make a slurry by mixing the polishing powder with water according to the product’s instructions – it should typically form a paste-like consistency. Apply this slurry to the dull or etched area.
Using a slightly damp, soft cloth or a felt polishing pad, rub the paste into the marble with firm, circular or back-and-forth motions. Work in small, manageable sections. Keep the paste moist by adding a little water if needed. After buffing for a few minutes, wipe away the residue with a clean, damp cloth and inspect the shine. Repeat if necessary. Always conduct a spot test in an inconspicuous area first. This is a core technique when learning how to polish marble effectively.
Method 3: Baking Soda Paste for Very Light Polishing (Use with Extreme Caution)
Baking soda is a mild abrasive and is sometimes suggested as a home remedy for polishing. However, it must be used with extreme caution on marble. While it can help with very minor dull spots if applied gently, its abrasiveness can also cause micro-scratches or a hazy appearance if rubbed too hard, used too frequently, or not rinsed thoroughly. If you choose to try this, make a thick paste of baking soda and water.
Apply it to a small, dull spot and rub very gently with a damp, soft cloth for a brief period. Rinse the area exceptionally well with clean water to remove all baking soda residue, then dry and buff with a clean cloth. This method is not recommended for widespread polishing or for high-gloss marble finishes without extensive prior testing
🏛️ Related Product: Marble Natural Stones
🌟 View Marble CollectionWhat You'll Need for Polishing Marble?
Having the right tools will make your marble polishing project easier and more effective. For most DIY how to polish marble endeavors, you'll need:
· Several clean, soft microfiber cloths: Essential for cleaning, applying polishing agents, and buffing.
· Soft polishing pads: Manual pads (felt or specialized foam) can provide more consistent pressure than a cloth for working with polishing powders.
· A natural chamois cloth: Ideal for a final buff and enhancing shine.
· A spray bottle: Useful for keeping the surface or polishing paste slightly damp with water.
· Protective gloves: To protect your hands from products and abrasion.
· Eye protection: Especially important when working with powders to prevent them from getting into your eyes.
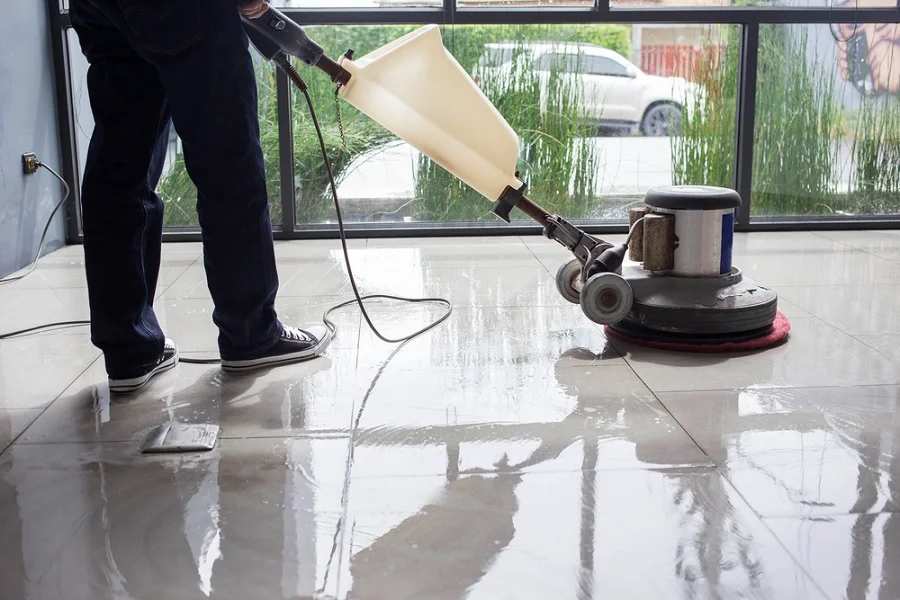
· Optional: A low-speed electric drill with a polishing pad attachment or a dedicated low-speed marble polisher. If using power tools, ensure they are suitable for stone, use the correct pads, and operate at a low speed (typically under 2000 RPM) to avoid overheating or damaging the marble. This is generally for more experienced DIYers or larger areas.
Preparing Your Workspace and the Marble
Ensure the marble surface is impeccably clean, dry, and free of any grit as per the preparation steps. Clear the surrounding area of any items that could get dusty or be in the way. If you're working near walls or non-marble surfaces, consider protecting them with plastic sheeting or painter's tape. Good lighting will help you see the results of your polishing efforts more clearly.
Applying the Polishing Agent
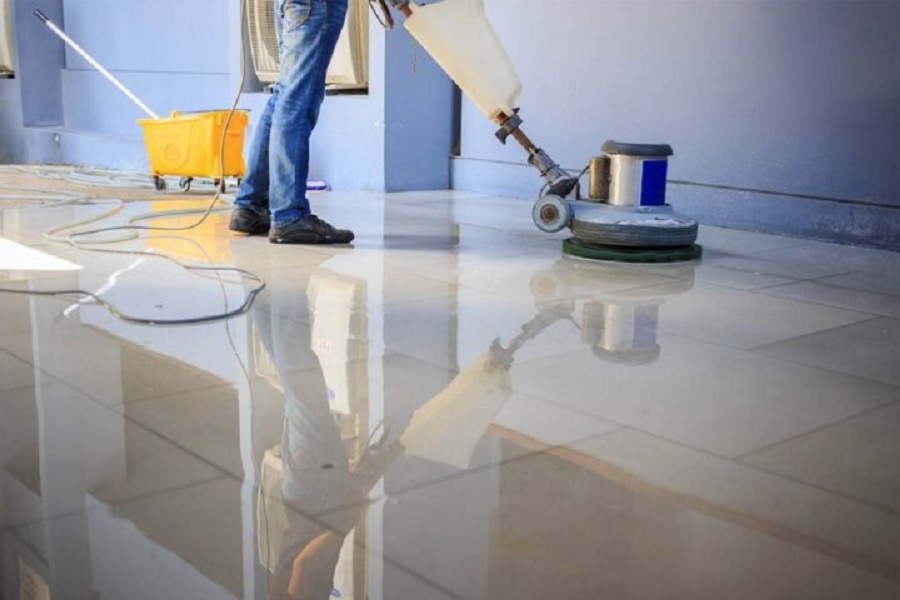
Work in small, manageable sections, typically no larger than 2x2 feet (or about 60x60 cm) at a time. This allows you to focus your effort and maintain control. Prepare your marble polishing powder slurry according to the product directions. Apply an even amount of the paste to the section you're working on. Don't apply too much at once, as it can become messy and difficult to work with. The goal is to keep a consistent layer of the polishing agent between your pad/cloth and the marble surface.
Explore Exquisite Stone at FMA Marble!
Now that you've seen the potential for revitalization, perhaps you're envisioning the unmatched elegance of new, impeccably polished marble for your next project. To explore a curated selection of the world's finest marble and receive expert guidance on choosing a stone that will bring enduring beauty and value to your space, we invite you to connect with FMA Marble. Visit our website to browse our stunning collections, or contact our knowledgeable team today for a personal consultation to find the perfect marble that embodies your vision.
Frequently Asked Questions
How often should I polish my marble countertops?
This depends on wear and tear, and how well it's maintained. For most residential marble countertops with good daily care, a dedicated polishing (like with powder) might only be needed every few years or when you notice significant dullness or etching.
Can I use a car polish on marble?
No, it's not recommended. Car polishes are formulated for automotive paint, which has very different properties than natural stone.
What's the difference between honed and polished marble?
Honed marble has a smooth, matte, or satin finish, not a high-gloss reflective shine. Polished marble is highly reflective.

comments
No Comment YetLeave a Comment